
Lithium Battery Case Studies
Installing the ATX-20-HD Battery and Repop Clamp In Your Car
Mar
ATX-20-HD Battery Is Lightweight
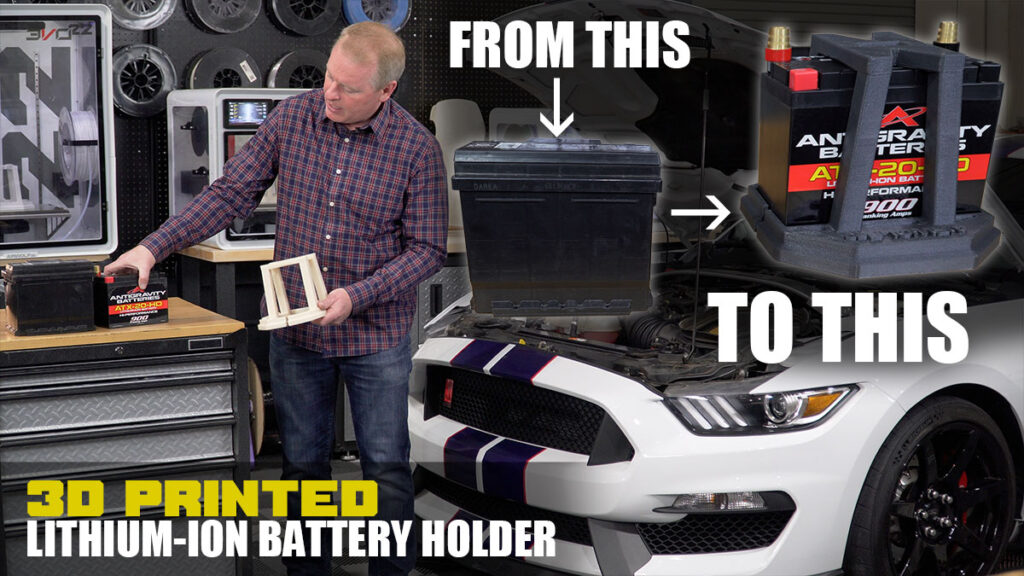
We are going to show you how to use 3d printing and an ATX-20-HD Battery to make your car lighter and faster. So what we’re going to do today is we’re going to be replacing a heavy lead acid battery with a lightweight lithium-ion ATX-20-HD battery. If you know anything about Mustangs, you probably recognize this car is a GT350r. This is a special mustang made by Ford that’s lightweight, and it’s got a bunch of features on it to make it faster than normal. It’s really built for the racetrack!

It has things like carbon fiber wheels carbon, fiber spoilers and it doesn’t even have a back seat in it. So what Ford did is they put a lightweight battery in it. Now it’s not that lightweight – it only saves you about six pounds the standard mustang battery is about 32 and their battery is about 26. If you’ve ever had one of these cars you Know that these batteries don’t exactly last forever and they need to be on a trickle charger, it’s really kind of a lot of work when it comes time to replace that battery.
To Go Faster Lose Weight
If you’re anything like me, you’re going to be looking for some kind of improvement. So what we did is we found a battery made by Antigravity it’s called ATX-20-HD. It’s a lightweight lithium-ion battery and to put in int perspective…. this guy weighs 5.2 pounds.
Where your standard GT350 battery weighs 26 so, you’re saving 21 pounds just with a battery over a standard Mustang – you’re saving more like 26 pounds!
So it’s a great weight advantage and as we know to go faster we lose weight. What that means is basically take as much weight as you can out of the car, so that’s what we’re trying to do here.
Adapting The ATX-20-HD Battery To A Standard Battery Box
The ATX-20-HD battery is really cool because it has more cold cranking amps than the stock Mustang battery and we’ve used it in the car extensively it works great, but if you’ve ever had a lithium battery in your car you know that it’s not a plug and play operation. These guys don’t just fit in the standard battery box. Things like the battery height is different, the length of the battery is different, and the width of the battery is different. Just about everything is different so if we put this battery in the car and we try just to go off and drive – it would be flopping around it wouldn’t pass any of the tests for auto-crossing.
What you need to do is you need to secure these guys down some way because they don’t come with adapters. Now most people will take things like foam or rubber, and they’ll kind of put it in the compartment, and they’ll try to wedge these guys in there tightly. Now that brings me to 3d printing, so what we can do with 3d printing is we can make a perfect enclosure for the lithium battery, and on the outside, we can mimic the exact fitting dimensions of the lead acid battery. What we got here is our lithium battery, and you’ll notice if you look closely at the RePop3D battery adapter, we have a ledge in here it’ll hold this battery up to the right height so that the terminals are at the same height.

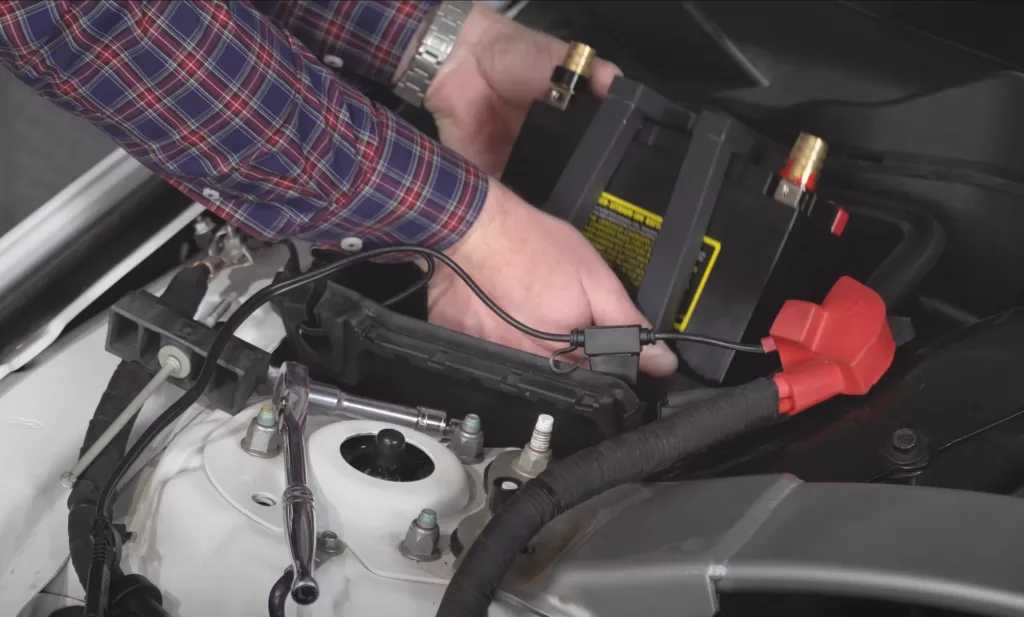
So when we put the wires in on the battery, they fit at exactly the same angles. Also, the battery needs to be positioned on the y-axis, so this adapter will index on the y-axis and also index on the x-axis. If needed, it even has an opening here so you can check the status of your battery, which is kind of a cool feature on these lithium batteries. What makes it so cool is that not only is this guy strong, it’s really easy to put your battery in. So it won’t take you more than five minutes to take your old lead acid battery out and put your new lithium battery in the RePop3D battery adapter and pop it in the car. It has all the same mounts as the factory lead acid battery.
We have these ledges here which work with the standard Ford clamps to hold this ATX-20-HD battery tight.
Flame Retardent MG-94 ABS Plastic And A Large 3D Printer
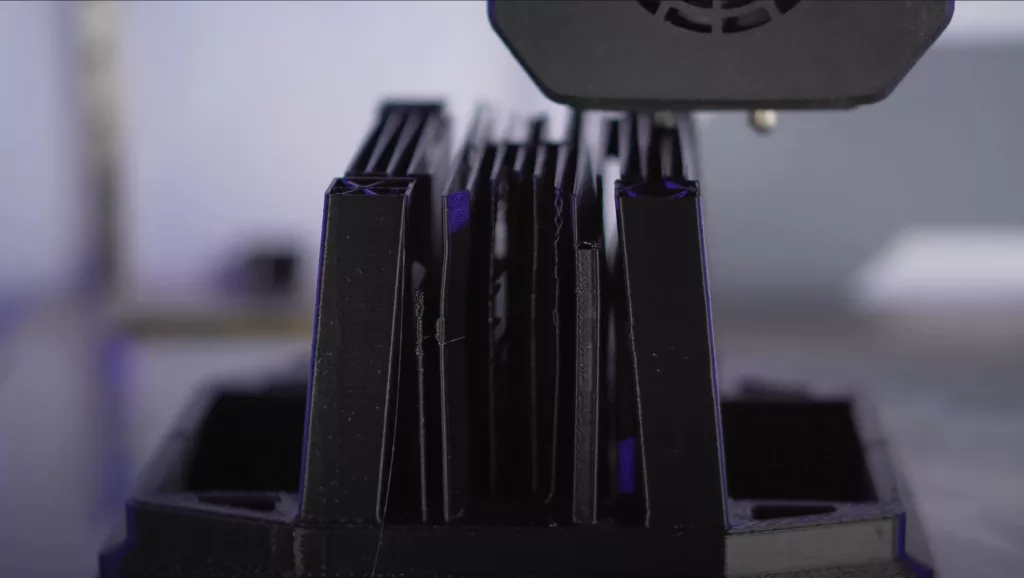
When we designed these clamps, we designed them to 3D print with ABS plastic because the EVO large 3D printer works very very well with ABS. They’re enclosed, they have chamber heaters, and MG-94 ABS is a great material to work with. You can sand it, and you can paint it. It’s strong, it’s predictable, and it will essentially always look like this forever as it doesn’t change form as it gets older. MG94 by SABIC is an acrylonitrile-butadiene-styrene (ABS) resin. It provides good impact resistance and outstanding aesthetics, flow, strength, toughness, and dimensional stability. We extrude this raw resin into 3D printing filament every day and print hundreds of pounds every day. It is UL Recognized, (94HB Flame Class Rating 3) and exhibits high temperature-, fatigue- and chemical resistance. 94HB Flame Class Rating 3 is the highest (most flame retardant) UL94 rating (burning stops within 60 seconds),
We started 3D printing with a larger nozzle – it’s a 0.8 nozzle, and we did that so that the walls are thicker in the part. It’s stronger so we can flex it without having to worry about breaking it. What we ended up doing to make this part extra strong was we created a material called fiber tough fiber tough is a combination of ABS and glass and with that combination, we not only get a superior surface finish we get higher strength too and as you’ll see in this car the fiber look matches some of the other carbon fiber this car has on it.
So it’s really a perfect match. Not only does it look good, but it’ll also be stronger, it’ll perform well, and it’ll last the life of the car.
ATX-20-HD Battery Installation Video
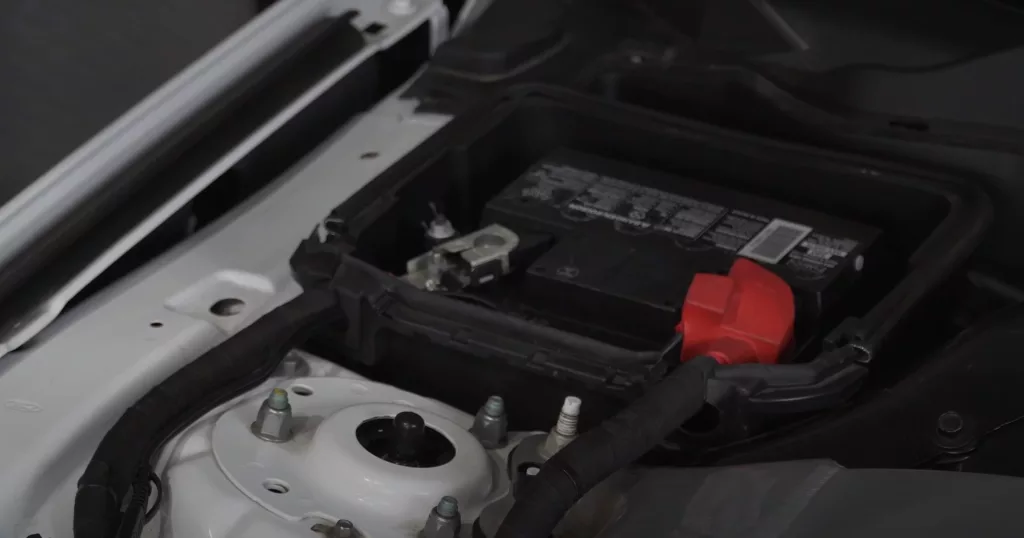
The first thing you want to do is take the old battery out. You’ve got two 10mm nuts on the top, and an eight-millimeter bolt that holds the mounts down. So installation is really straightforward. You’re just going to drop the Repop adapter with a ATX-20-HD battery and the Terminal Adapters into the compartment. It has the exact same dimensions as the original battery. All we’re going to do is tighten up the eight-millimeter bolt and then tighten up the two 10-millimeter nuts, and we are ready to go!